Visual
Studio aims to simplify web application deployment in the same way it
simplifies the task of designing rich web pages. Although you need to
understand how IIS works in order to manage virtual directories
effectively (and fix the inevitable configuration problems), Visual
Studio includes features that integrate with IIS and allow you to
create virtual directories without leaving the comfort of your
design-time environment.
Visual Studio has several deployment-related features:
You can create a virtual directory when you create a new project.
You can use the Copy Web Site feature to transfer an existing website to a virtual directory.
You can use the Publish Web Site feature to compile your website and transfer it to another location.
If
you use web projects (not projectless websites), you can use the web
package feature to bundle IIS settings, security certificates, and SQL
scripts, with the actual files of your application, into a single
convenient package.
In the following
sections, you'll examine the first three features. To learn more about
web projects and the web package feature, refer to Pro ASP.NET 4 in VB 2010 (Apress).
1. Creating a Virtual Directory for a New Project
When you create a website in
Visual Studio, you can simultaneously create a virtual directory for
that website. If you choose to do so, Visual Studio won't use its
built-in web server. Instead, all your requests will flow through IIS.
(Happily, you'll still see the same behavior and have access to the
same debugging tools.)
To try this, you must
first start Visual Studio as an administrator. To do so, right-click
the Visual Studio shortcut, and choose Run As Administrator.
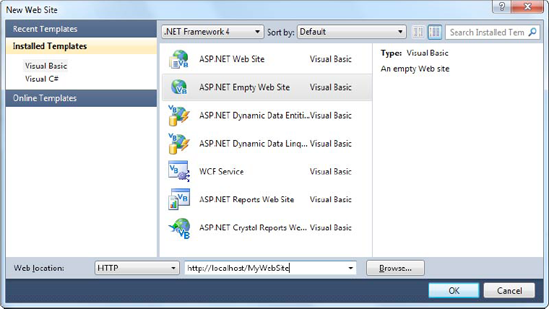
Now, choose File =>
New Web Site from the Visual Studio menu. In the New Web Site dialog
box, choose HTTP for the location (instead of File System). You can
then supply a URL. For example, if you supply http://localhost/MyWebSite,
Visual Studio will create the virtual directory MyWebSite on the
current computer. The virtual directory is created in the
c:\inetpub\wwwroot directory. Figure 1 shows an example.
NOTE
If you specify a virtual
directory that already exists, Visual Studio won't create it—it will
just use the existing directory. This is convenient because it allows
you to set up the virtual directory ahead of time with exactly the
options you want and then create the website in it. If the virtual
directory doesn't already exist, Visual Studio creates the virtual
directory in the c:\Inetpub\wwwroot directory.
This approach often isn't the best way to create a virtual directory. It has several limitations:
It forces you to set up
the virtual directory when you first create the application. If you've
already created an application, you can't use this approach for
creating a virtual directory.
You can't configure other settings, such as default pages, custom errors, and virtual directory permissions.
Any
change you make and debugging you perform act on the live version of
your application that's running on the web server. If you're using a
production web server, this is an unacceptable risk. If you're using a
test web server, you may have opened potential security issues, because
remote users can request pages in your application from other computers.
For these reasons, it's
more common for developers to create their application using the
built-in web server in Visual Studio and then create a virtual
directory by hand when they're ready to deploy it to a test or
production web server.
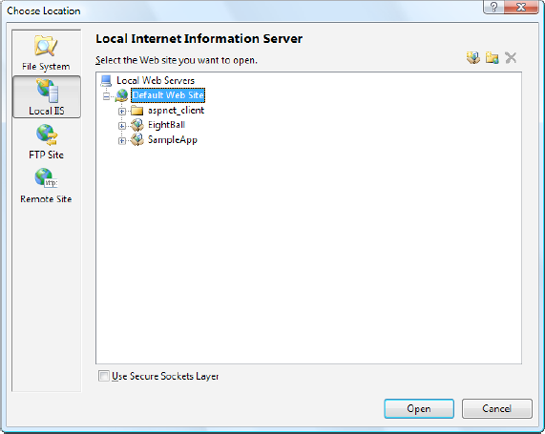
Visual Studio doesn't give
you the full options of IIS Manager, but you can get a little more
control. In the New Web Site dialog box, type http://localhost
(for the current computer), and click the Browse button. You'll see all
the virtual directories that are defined in IIS, just as in IIS Manager
(see Figure 2).
You can't view or change
their properties, but you can choose an existing virtual directory
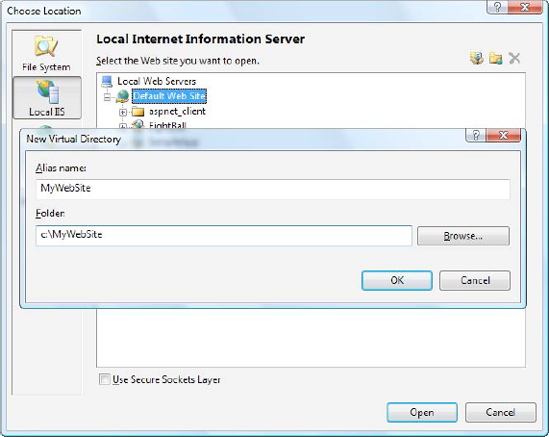
where you want to create your application. You can also use the Create
New Virtual Directory button in the top-right corner of the window (it
appears as a folder icon with a globe). Click this button, and you'll
get the chance to supply the virtual directory alias and its physical file path (see Figure 3).